| The new Pwnage tool 2.0 is out. It will activate, unlock and jailbreak your 2G iPhone, and “jailbreak only” your new 3G iPhone. No 3G unlock yet!
|
Pwnage has a very nice interface, but nevertheless it’s still a bit complicated to use if
you have no idea what you are doing. Therefore, to help you pwn your iPhone, we wrote
a very detailled guide. We are glad to see many of you already succeeded with our tutorial.
UPDATE: Assure you have iTunes 7.7, and restore your iPhone to stock 2.0 firmware.
iTunes will backup all your data before proceeding.
Once restored, iPhone should tell you to connect to iTunes, no panic.
Your iPhone is now ready to be pwned!
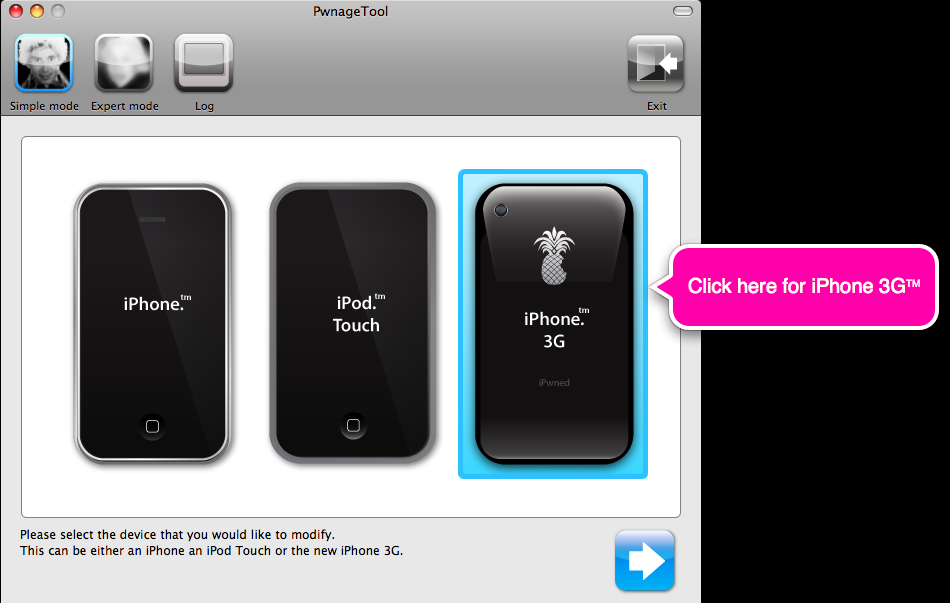
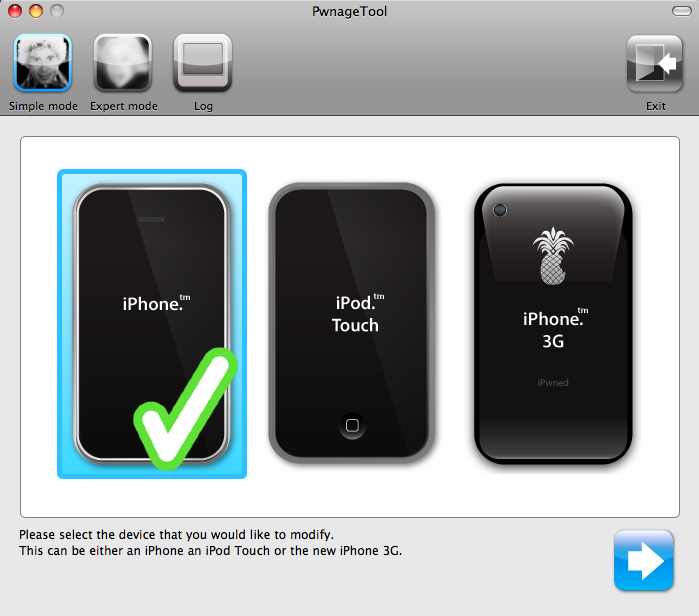
Please also download the bootloaders 3.9 and 4.6 : here Fire up PwnageTool 2.0 and select the type of your device and Simple Mode :
Click on the next button and select your ipsw file you downloaded earlier:
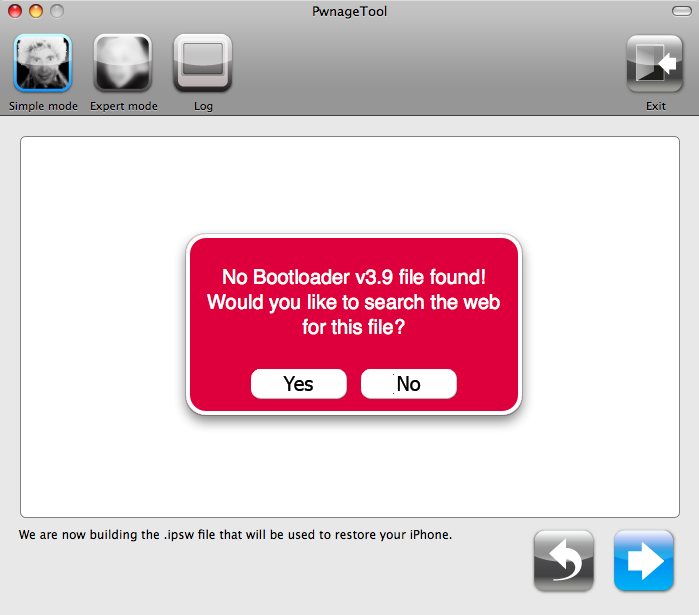
Select No on the following screen:
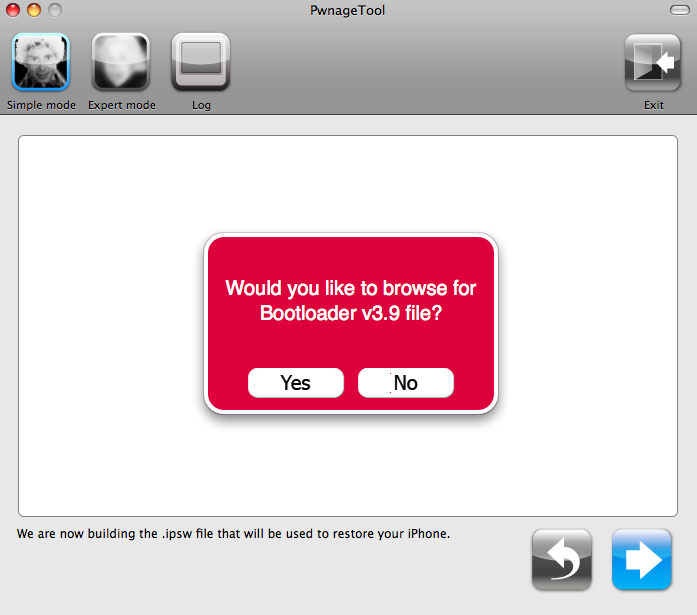
Select Yes on the following screen and browse to BL-39.bin file you downloaded :
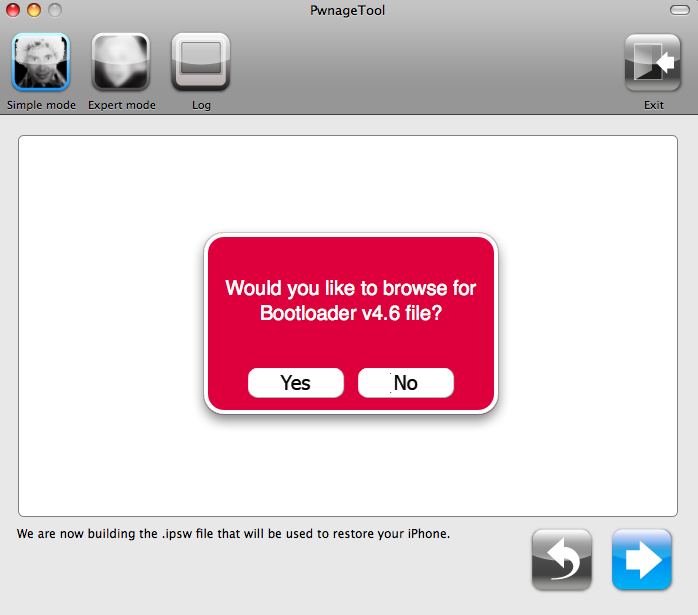
Do the same steps for 4.6 bootloader as you did for 3.9 bootloader, select No :
Select Yes :
Browse to the BL-46.bin file you downloaded earlier :
In the next screen, select yes as it is your first time you are building the custom firmware:
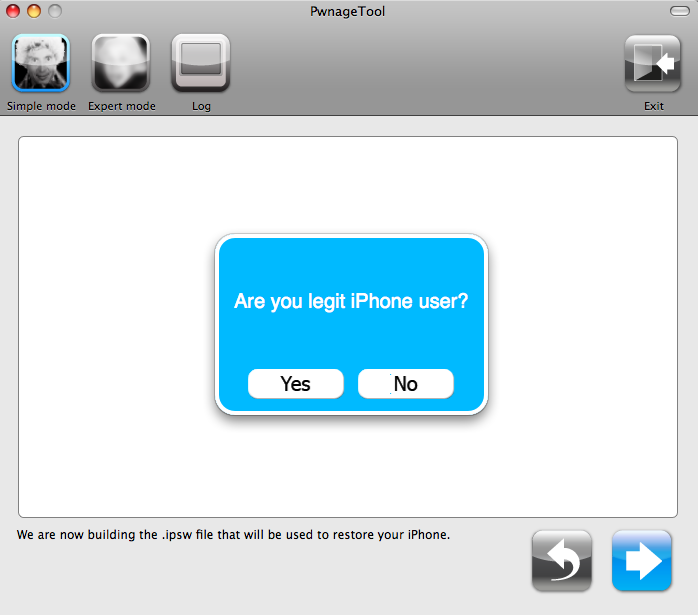
Pwnage will ask you next if you own an AT&T subscription, or you have an officially
unlocked iPhone like one you can get in many European countries.
If you need activation and unlock reply No, otherwise reply YES :
Wait while Pwnage is building your 2.0 custom firmware :
Enter your mac OS X password when required :
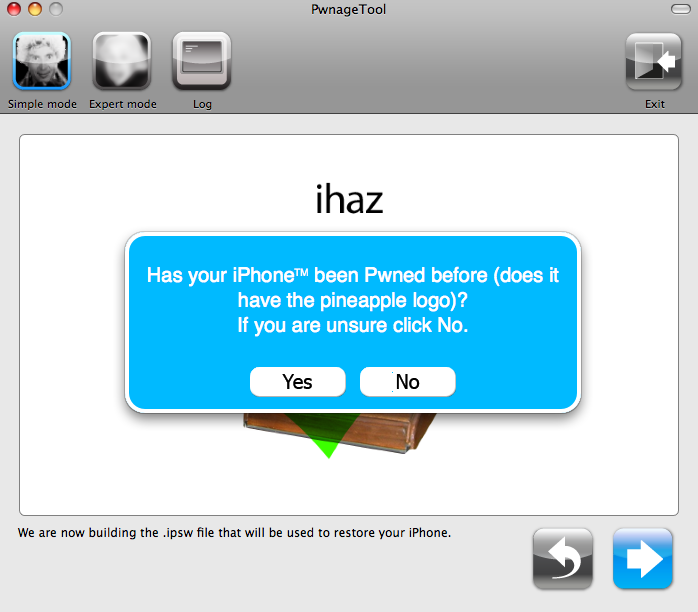
Is you iPhone already running a pwned firmware or not ?
If you restored to a stock Apple’s firmware, you should reply NO.
If you run 1.1.4 pwned by Pwnage 1.2, reply YES.
Select NO if you are not sure!
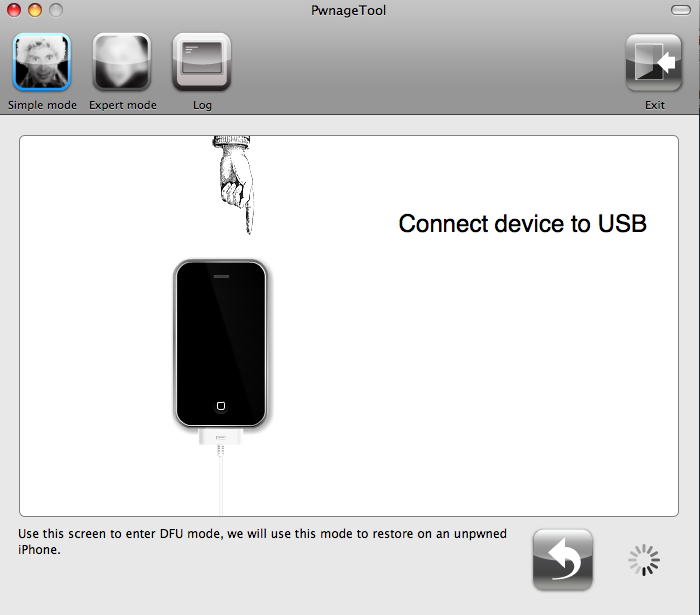
Now if you selected NO, you need to connect your iPhone to your mac now.
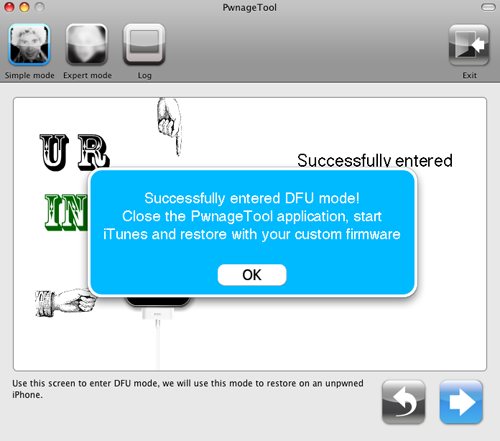
It will use DFU mode to restore the custom firmware on an unpwned iPhone:
Your iPhone should then be in DFU mode :
Close Pwnage application and fire-up iTunes. It should detect your iPhone in recovery mode.
Click OK, then restore to your custom firmware that is on your Desktop.
You need to hold the Option key and hit restore button.
Then choose your custom IPSW from your desktop.
If you choose that you have no legit iPhone, BootNeuter application will start on your
iPhone to activate it and unlock it. Let it run before you use your iPhone.
Congrats, you got a pwned iPhone with 2.0 firmware.
That is activated, unlocked, jailbroken with Cydia installer.
Old community applications are not yet compatible with the new 2.0 firmware.
So you need to wait developers to update their software.
Patience, they will show up in Cydia installer.
skr3dii, out.
Some useful tips from the dev team :
P.S. If you get Error 1600 from iTunes (or if you see in your log a failure to prepare x12220000_4_Recovery.ipsw), try: mkdir “~/Library/iTunes/Device Support” ;
if that directory already exists, remove any files in it. Then re-run PwnageTool.
P.P.S. If DFU restores are giving you trouble, another route to pwned 2.0 for 1G owners
is to use first pwnage at 1.1.4. Once you are pwned there, you can do a normal
recovery-mode restore to your custom 2.0 ipsw. BTW the iPhone does *not* need to be
pre-pwned to be able to DFU-restore into a pwned ipsw — it needs to be pre-pwned only
for normal recovery-mode restores of custom ipsw’s.
P.P.P.S. Mail application not working at 2.0? Please restore to your custom ipsw (you don’t
need to DFU restore if you are pwned, normal restore will work now too) but then
select “Set up as a new iPhone” when iTunes asks.
Your first sync will bring back all of your settings anyway